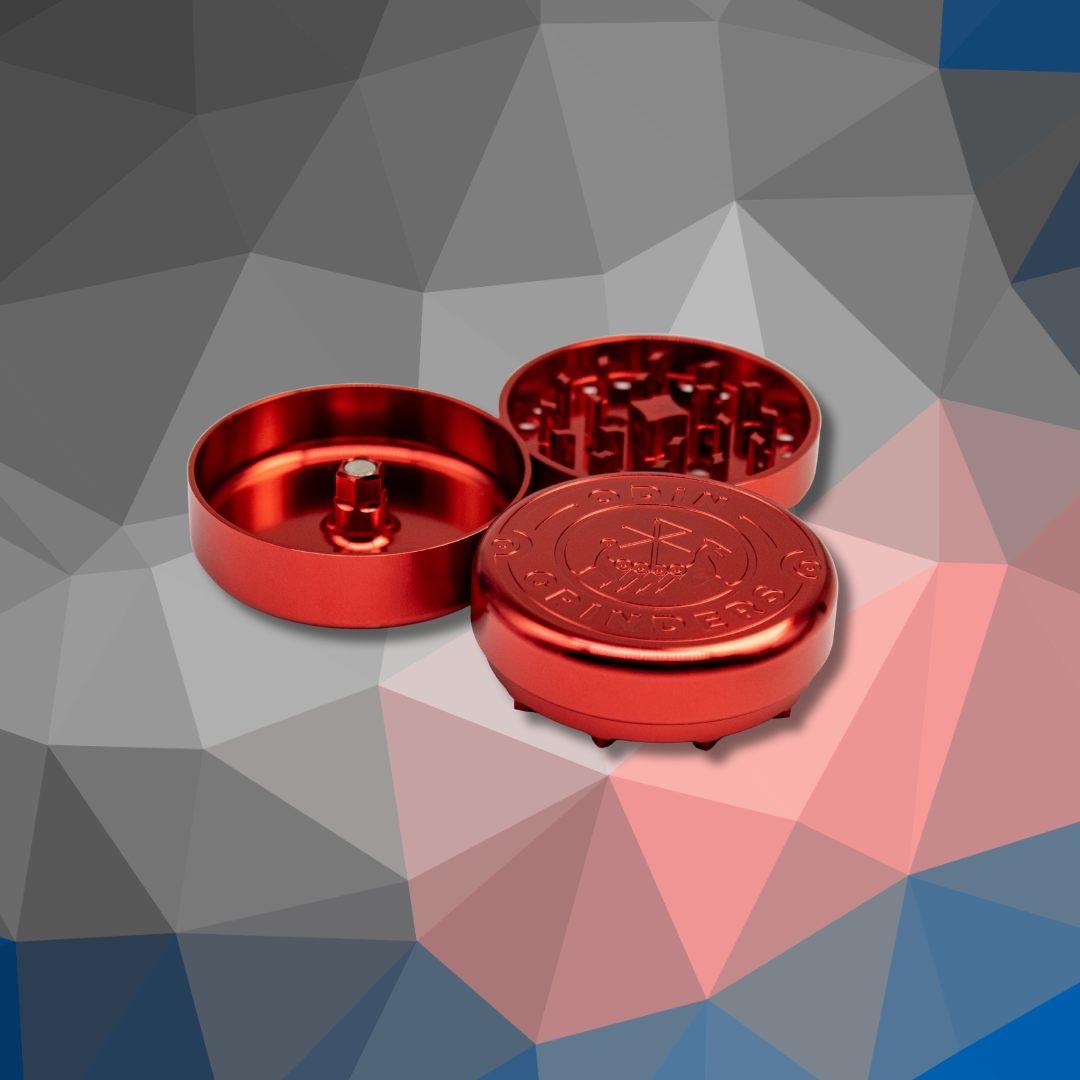
Crystal Clear: Keeping Your Grinder Clean with ISO

If you're a herb enthusiast, you'll know that a clean grinder is essential for achieving the perfect brew or smoke. However, all too often, grinders end up sticky and gummed up from regular use. The good news is that using isopropyl alcohol, commonly known as ISO, can help bring your grinder back to its optimal form. In this post, we'll be exploring why ISO is your go-to solution, along with a step-by-step guide to cleaning your grinder.
Why ISO?
Isopropyl alcohol, or ISO, is a solvent that can effectively break down oils, resins, and other organic compounds. This makes it an excellent cleaning agent for grinders. Here are a few benefits of using ISO for your routine grinder maintenance:
- Powerful cleaning action: ISO dissolves buildup with ease, making it perfect for dealing with the sticky residue often found in grinders.
- Quick drying: Unlike water, ISO evaporates rapidly, reducing the risk of damage to your grinder from lingering moisture.
- Odorless and tasteless: Once dry, ISO leaves no residue or scent behind, ensuring that there are no unwanted flavors or aromas in your freshly ground coffee or herbs.
Step-by-Step Guide for Cleaning Your Grinder with ISO
To keep your grinder in tip-top shape using isopropyl alcohol, follow these simple steps:
- Disassemble your grinder: Carefully take apart your grinder, removing any components that can be separated.
- Remove loose debris: Using a brush or toothpick, remove any loose particles from the grinder's surfaces.
- Soak the components in ISO: Place the separated pieces in a bowl or zip-lock bag and cover them with a sufficient amount of isopropyl alcohol (generally 91% strength is best). Allow them to soak for 30 minutes to an hour.
- Scrub away the residue: After the soaking period, use a toothbrush or a soft-bristle brush to scrub the surfaces of each component thoroughly. This will lift off any remaining residue, ensuring a thorough clean.
- Rinse the components: Once the buildup has been loosened, rinse the pieces under warm water to remove the ISO and residue.
- Dry the grinder: Allow all the components to air dry completely before reassembling to prevent moisture from getting trapped inside.
- Reassemble the grinder: Once everything is totally dry, reassemble the grinder and enjoy the fresh, clean results!
Remember that keeping your grinder clean will not only improve its performance but also extend its lifespan. Repeat this cleaning process as necessary to maintain optimal functionality.
Share Your Thoughts
We hope this guide has given you a clear understanding of why ISO is a fantastic cleaning solution for your grinder and how to do it correctly. Now, we'd love to hear about your experiences: Have you tried using isopropyl alcohol to clean your grinder? How often do you perform grinder maintenance? Share your thoughts, tips, and experiences in the comments section below!